
From a coin on the table to a finished lot
Four stages, all on your phone. The camera behaves like a camera, edits never destroy the original, and recognition suggests instead of deciding. Here is each stage in detail.
Shoot with a camera that behaves like a camera
You choose the view – obverse, reverse or edge – and the right camera scenario opens. One shutter press makes one photo. No forced burst series, no locked shutter, no picking from five near-identical candidates.
- The manual button always works. Detection helps after the shot; it never blocks the shutter. For a steady hand there is a 0, 2 or 5-second timer.
- Zoom, torch, macro. Zoom by slider or gesture; the torch is manual with adjustable brightness; on supported iPhones macro engages visibly when the main lens can no longer focus – and can be switched off.
- Use or retake. After every frame you decide. The next shot either replaces the current view or joins as a new one.
- The edge is a composite. Several deliberate shots of different segments become one assembled edge view – the one thing a single frame can't give you.
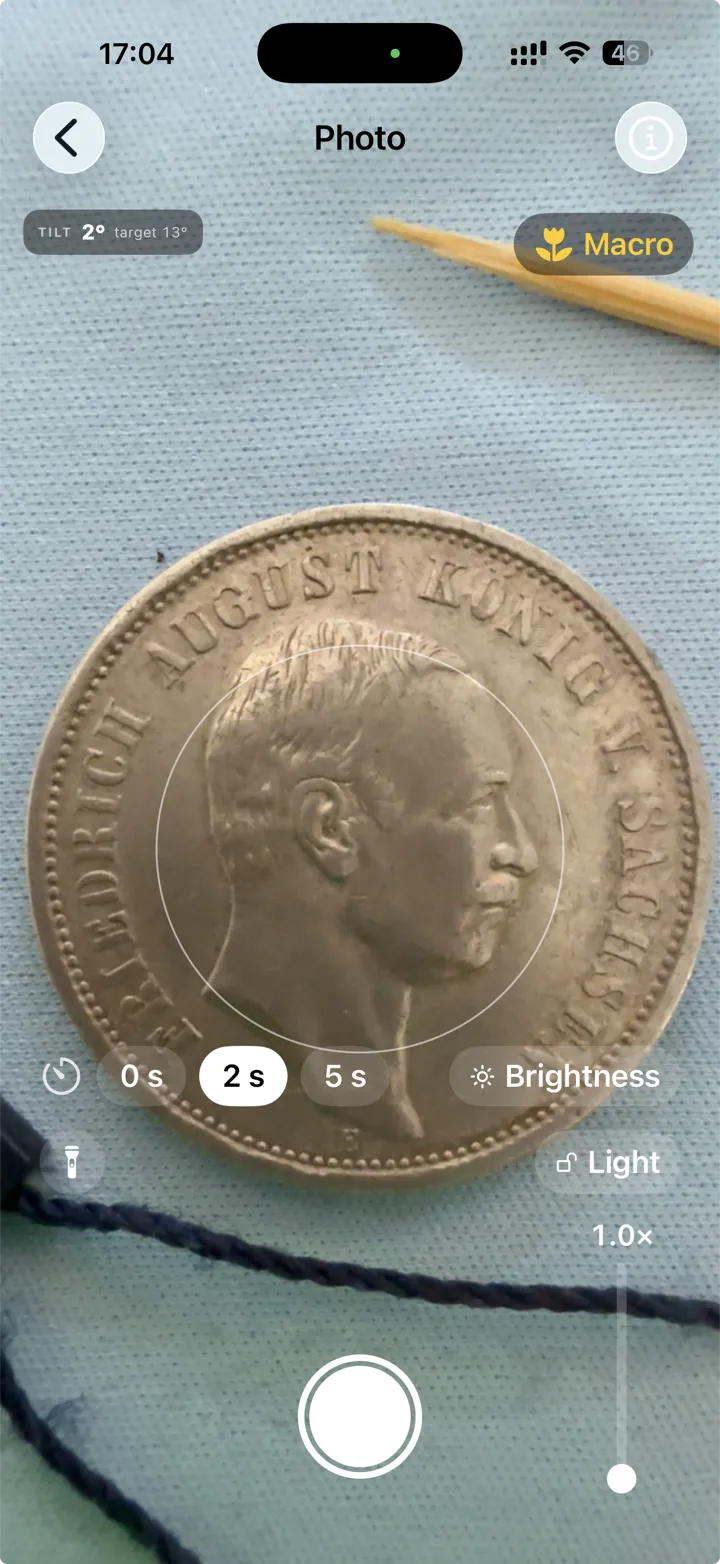
The shutter is never locked. The helpers – tilt, target, glare, light – prompt you; the decision to press is yours.
Processing that keeps the original
Each photo goes through the same pipeline: find the coin, crop and straighten it, settle the background, even out the light. Every result stays editable, and the full master frame is preserved – you can always step back.
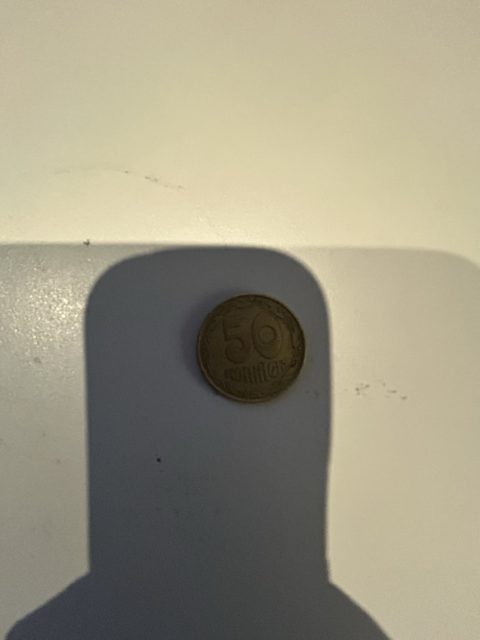
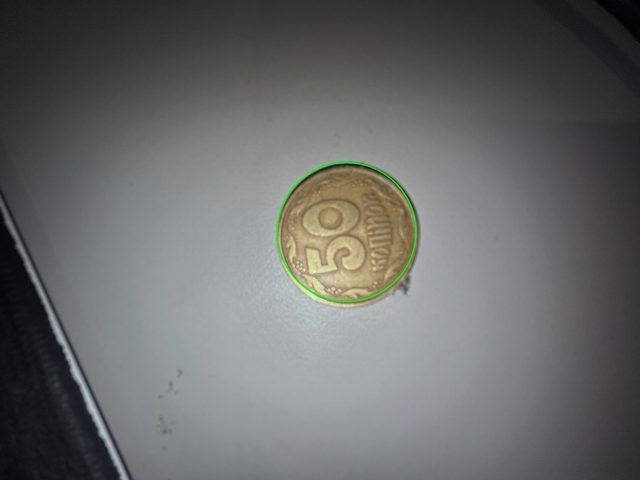
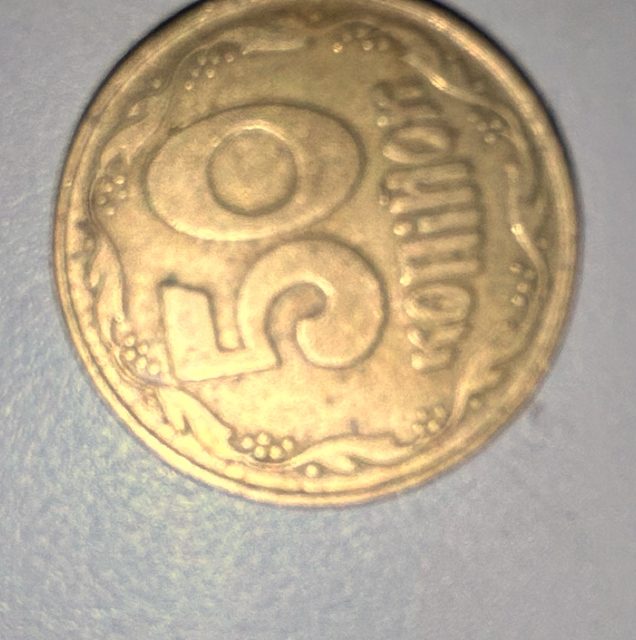
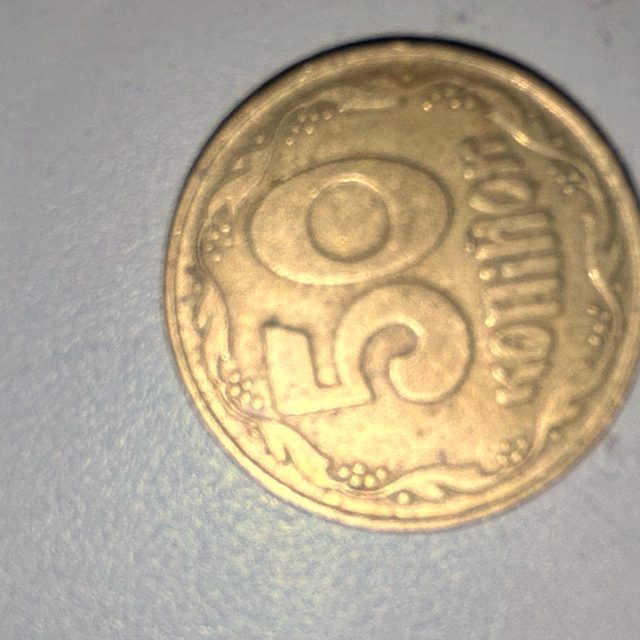
Copper, nickel, bronze, silver, gold; worn or toned – the pipeline assumes nothing about the metal. Glare reduction is a generic imaging stage: any shiny coin glares, not just silver.
Suggestions you confirm, not facts you inherit
When you ask for suggestions, both sides of the coin travel to the server in one request. Back comes a set of fields – country, denomination, year, metal and more – each with its own confidence level.
A field the model cannot read with reasonable certainty comes back empty. An empty field with low confidence is more useful than a confident-looking guess: you can fill a blank, but a plausible wrong year will sail straight into your listing.
Nothing is saved into the description until you confirm it. Tap to accept, edit what's off, leave blank what you don't know – the description is built only from fields you approved.
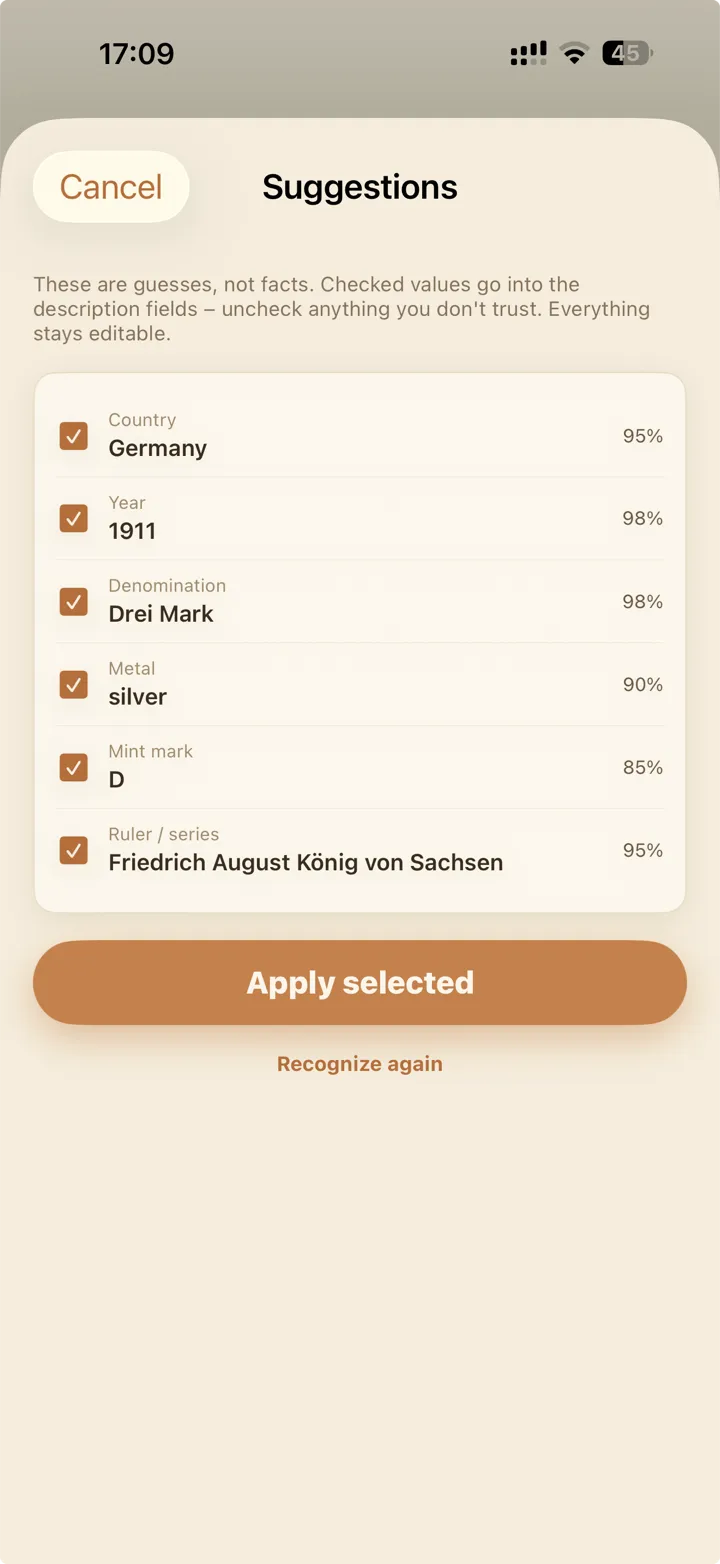
Every field arrives with its own confidence, and every field is a checkbox. Nothing reaches the description until you tick it.
One lot kit, ready to go anywhere
Obverse, reverse and edge assemble into a named lot: clean photos, a composite, and the description you approved. The unit of value is the finished kit – not a single pretty frame.
- Publish from the phone – photos and text land in any marketplace app via the Share Sheet.
- Hand off to a computer – AirDrop, Files, or one ZIP with the entire lot, if you prefer to finish on the desktop.
- Always yours – lots you created stay readable and exportable even after the subscription ends.
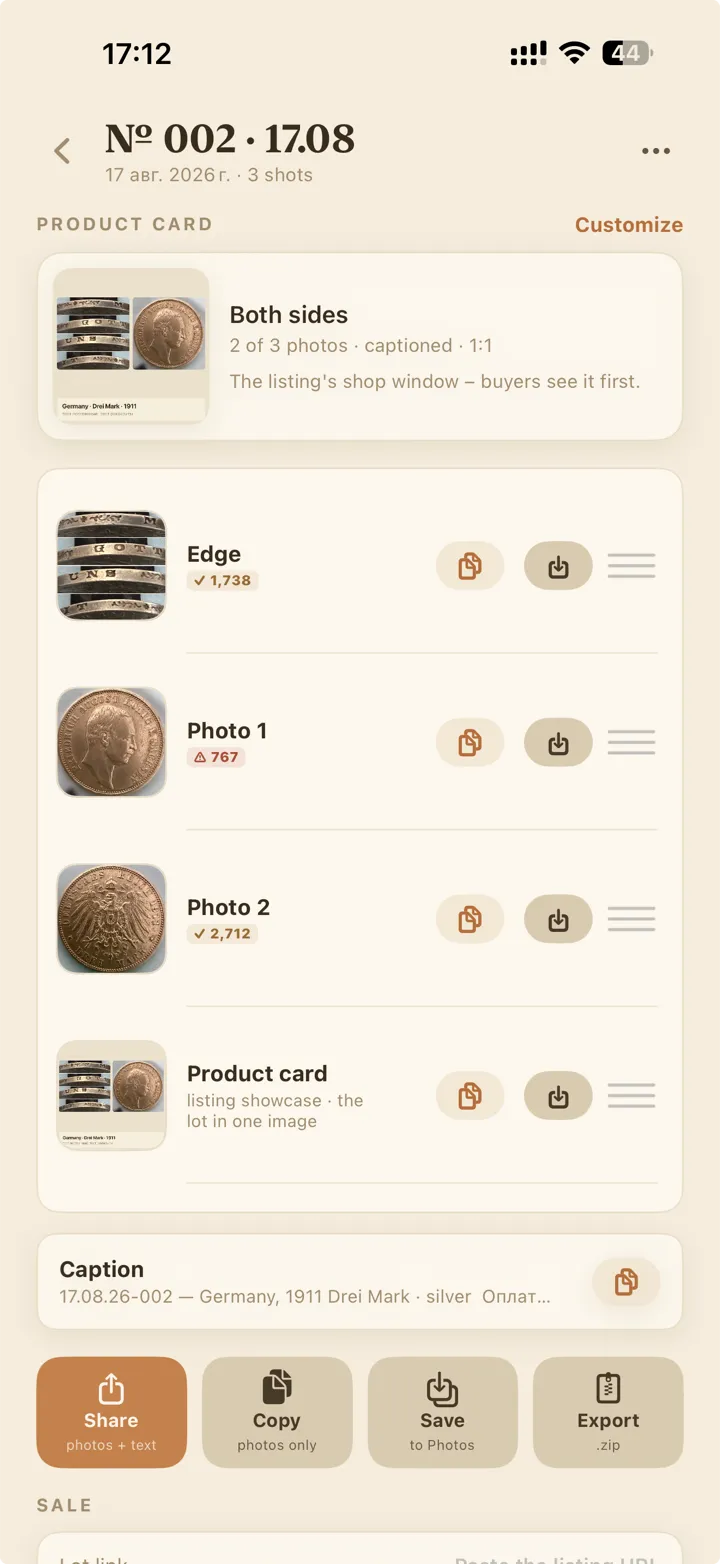
The export is clean – no watermarks on marketplace images, ever.
See it on your own coins.
Seven days, every feature, no card tricks. The first lot takes minutes.
Download on theApp Store
iOS 18 or later · 7-day free trial